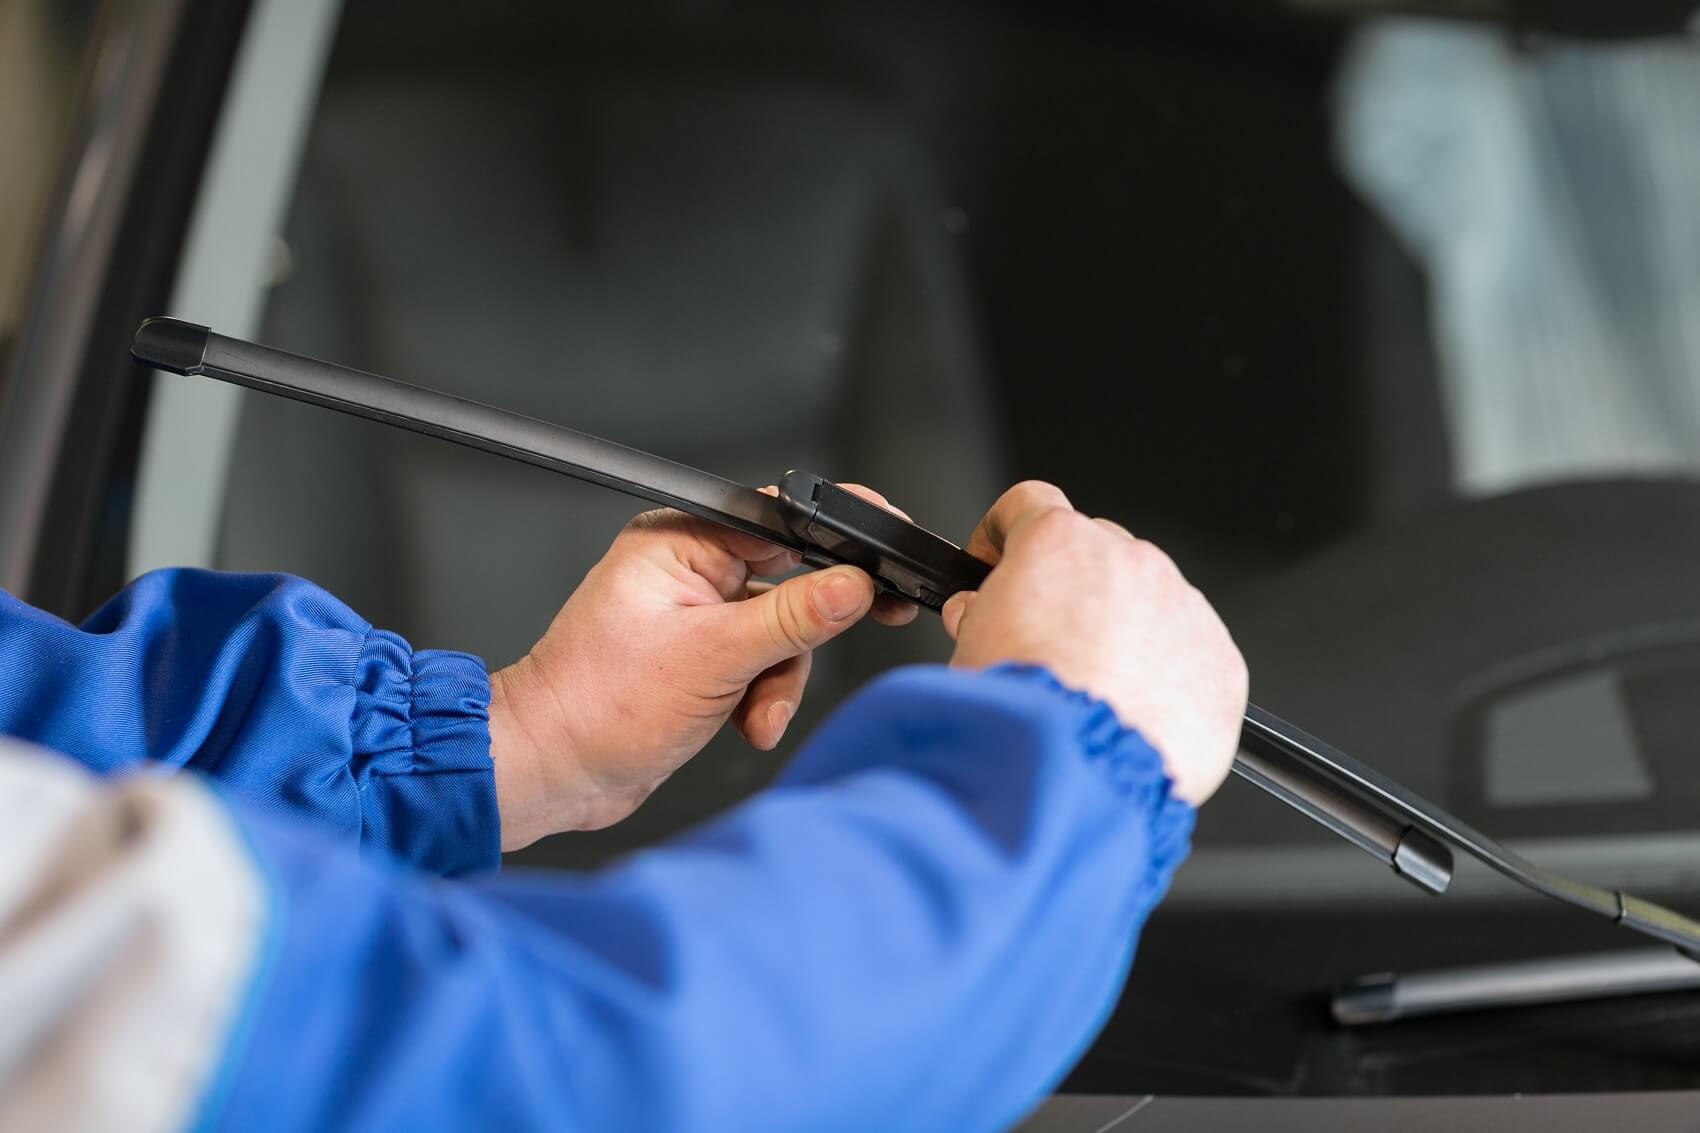
Windshield Repair Steps
While windshield repair is important, it is a relatively simple fix in the grand scheme of things. It is usually completed following the steps we have outlined below.
The precise process can be observed below:
1. Assessment: A professional technician will assess the damage to determine if it’s repairable. Generally, small chips, bullseyes, or cracks within a certain size and in a certain location can be repaired.
2. Cleaning: The damaged area is cleaned to remove any debris, dirt, or moisture from the chip or crack. This ensures that the repair resin will bond effectively with the glass.
3. Injection of resin: A special resin is injected into the damaged area using specialized tools. The resin is designed to fill the void left by the chip or crack and restore the structural integrity of the glass.
4. Curing: Once the resin is applied, it’s cured or hardened using ultraviolet light. This process solidifies the resin and bonds it to the glass, preventing further damage and improving the optical clarity of the repaired area.
5. Leveling and polishing: After the resin is cured, the excess resin is trimmed, leveled, and polished to make the surface smooth and restore visibility. This step ensures that the repaired area doesn’t obstruct the driver’s view.
It’s important to note that not all windshield damage can be repaired. The size, location, and severity of the damage play a crucial role in determining whether a repair is possible. If the damage is too extensive, obstructs the driver’s line of sight, or compromises the structural integrity of the windshield, a replacement may be necessary.